Reolink offers a camera named the Reolink Duo which has a field of view of 180 degrees. The camera is two cameras marketed as one, each camera has a 90 degree field of view, and their video streams are stitched together to create a panoramic 180 degree view that is returned as a feed. The camera offers two feeds:
| Feed Name | Megapixel (MP) | Encoding |
|---|---|---|
| main | 8 MP | H.265 |
| sub | 4 MP | H.264 |
The problem is that Reolink has decided to embrace the H.265 encoding scheme which has various patents. Major browsers such as Firefox and Google Chrome do not support H.265 because of the various intellectual property issues, e.g. patents, but they do support H.264 encoding. There is no indication that H.265 will be adopted by Firefox or Chrome in the near future.
Consequently, the Moonfire-nvr project only supports H.264 because an integral part of the project is the web portal which relies on a browser and since browsers are not supporting H.265, it may not make sense to save camera feeds in native H.265 when they cannot be displayed in the Moonfire interface through a browser.
The Reolink Duo is a significant advacement in surveillance in that it has 180 degrees of view letting a single camera cover a wide field of view. Moonfire-nvr can connect to the Reolink Duo's "sub" feed which is H.264 and successfully store the feed and reproduce it through the web interface. However, Moonfire-nvr cannot access or save the Reolink Duo's "main" feed since it is encoded using H.265.
To compare the advantages of the two feeds, John Poole performed a test showing established distances from the Reolink Duo camera and then comparing the H.264 feed captured by Moonfire-nvr and the equivalent "main" feed captured by the Reolink Windows client software.
One of the problems with the H.265 encoded content is that it is not easily view using VLC -- a standard video player. While VLC will display an H.265 encoded file, it is extremely difficult, if not impossible to view the file in its native resolution, so the result is that the 8MP video looks just as good as the 4 MB video. However, sometimes it is desirable to capture the highest resolution possible in order to capture faces or read license plates. Giving the police an image showing a blurry head does not give them much to work with, whereas providing an image that shows distinctive features such as the face and features such as the nose and eyes and jewelry is more helpful.
A challenge is to actually see an image from a H.265 8MP encoded file in its native resolution. What John found was the way to do so is to use ffmpeg to extract images in full resolution and then use the Firefox browser to view the extracted image. Firefox will default to showing the image reduced to fit within the window; however, if you place your cursor over an area of interest, e.g. a person, you can click the mouse and Firefox will then zoom into 100% resolution and then you can see details otherwise not shown. Of course, images extracted from the H.264 4MP videos do not zoom becuase the extracted image fits into a normal windows in Firefox at 100% resolution.
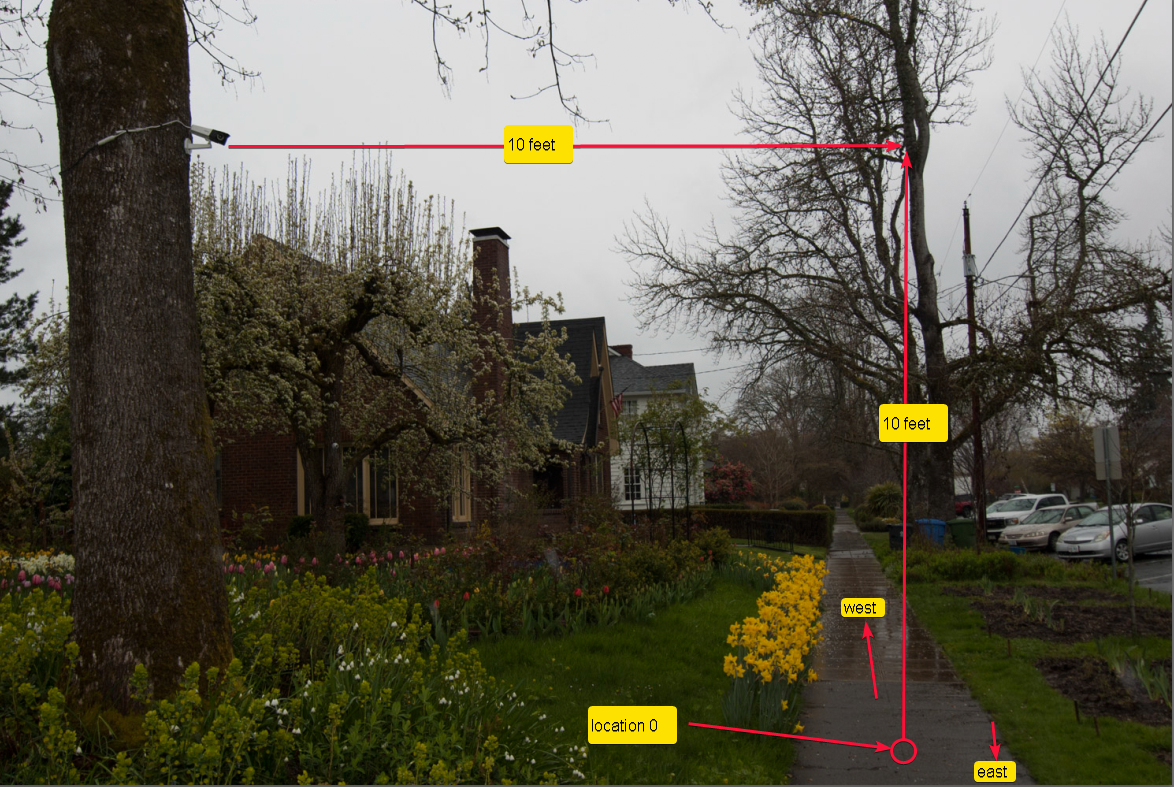
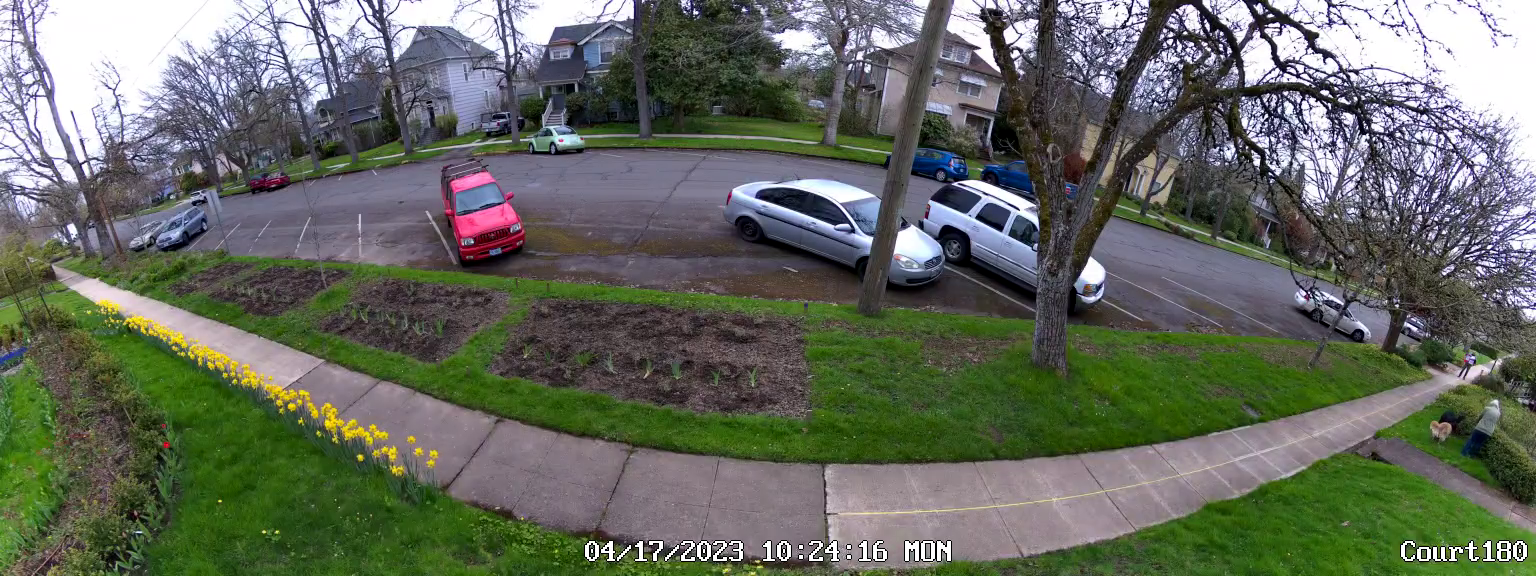
A Reolink Duo camera is staged on a tree that is 10 feet south of a sidewalk and the camera is on a plane approximately 10 feet above the sidewalk.
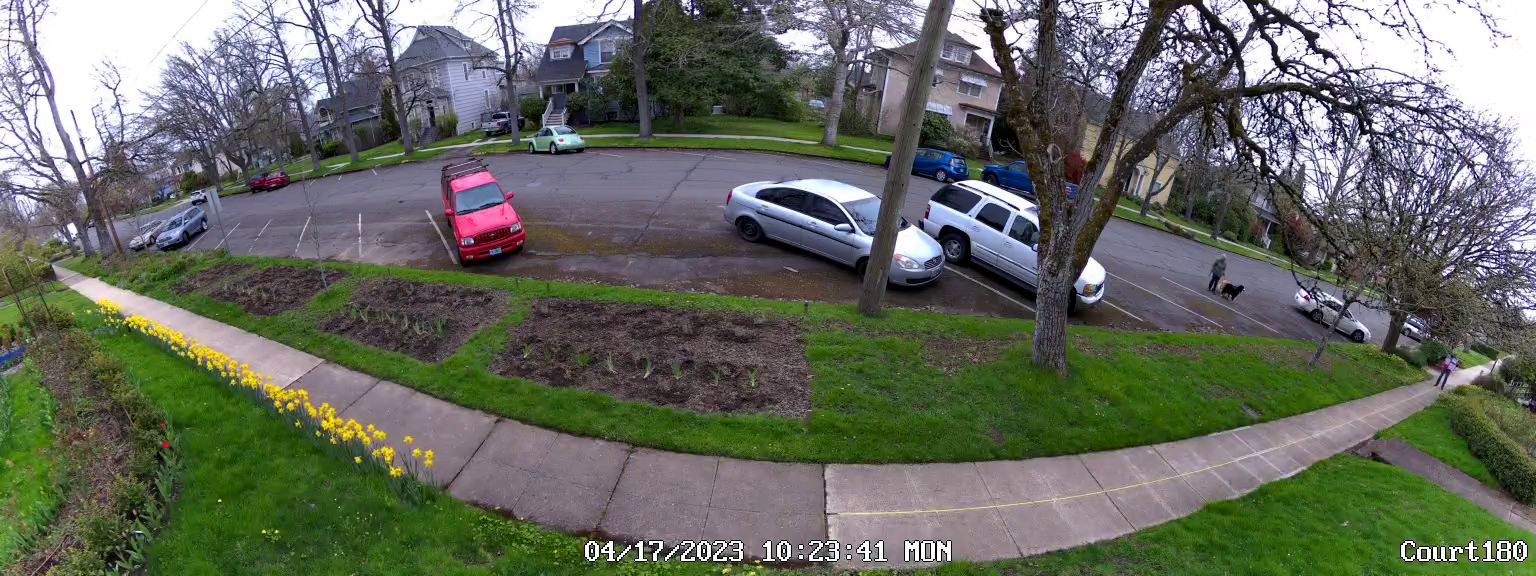
From a point 10' north of the camera and at the center of the sidewalk, John measures out station points at 25 foot intervals using a large measuring tape. John then walks to the 25, 50, 75, and 100 foot markings and turns around and displays the red placard towards the camera whilte moving his arm pointing to the face of the red placard.
Moonfire-nvr captured the 4 megapixal (MP) feed (31 MB) and John activated the "Record" feature of the Reolink Windows client to capture the 8MP feed (730 MBs -- contains larger time period). After the videos were preserved, John then viewed the videos and noted the time points where he was at each station -- these time points would then be used by ffmpeg to extract an image at that precise time. The time points are documented within the Perl script at the end of this page.
The placard contains print-outs taped to the red board as follows:
You can click the thumbnails in the table below to view the image that the thumbnail was taken from.
| 4 MP west | 4MP east | 8MP west | 8MP east |
|
|---|---|---|---|---|
| 25' |  |
 |
 |
 |
| 50' | 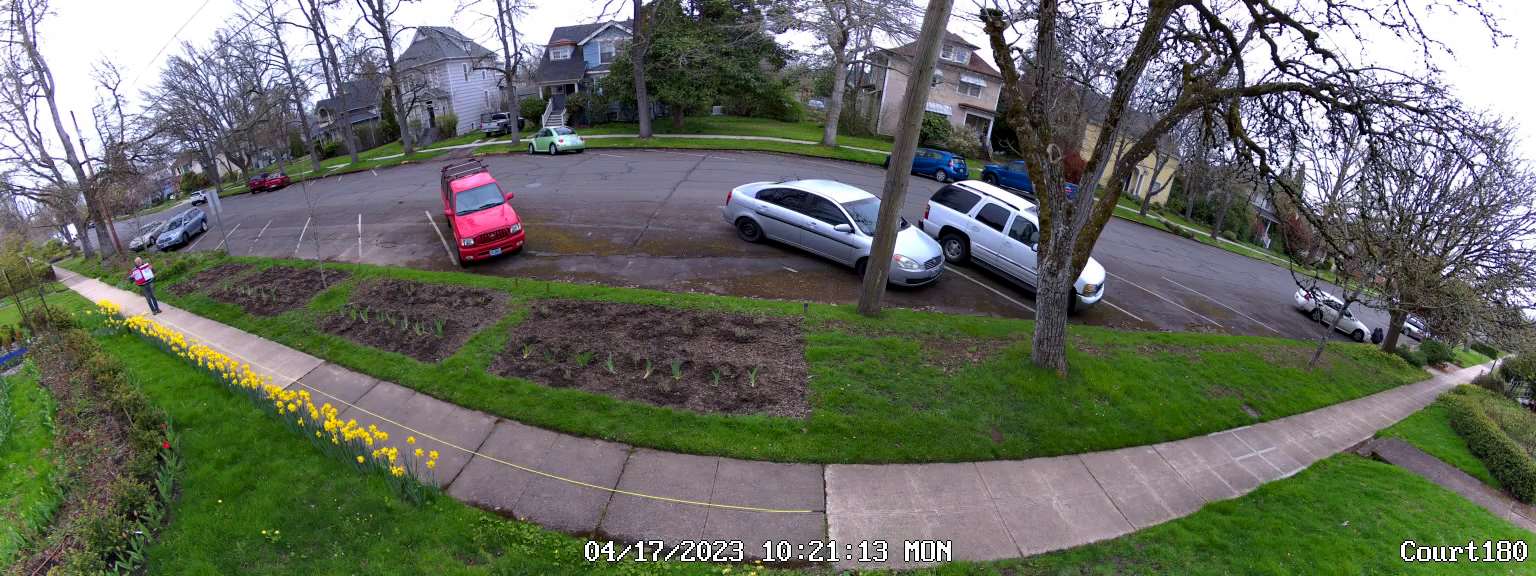 |
 |
 |
 |
| 75' |  |
 |
 |
 |
| 100' | 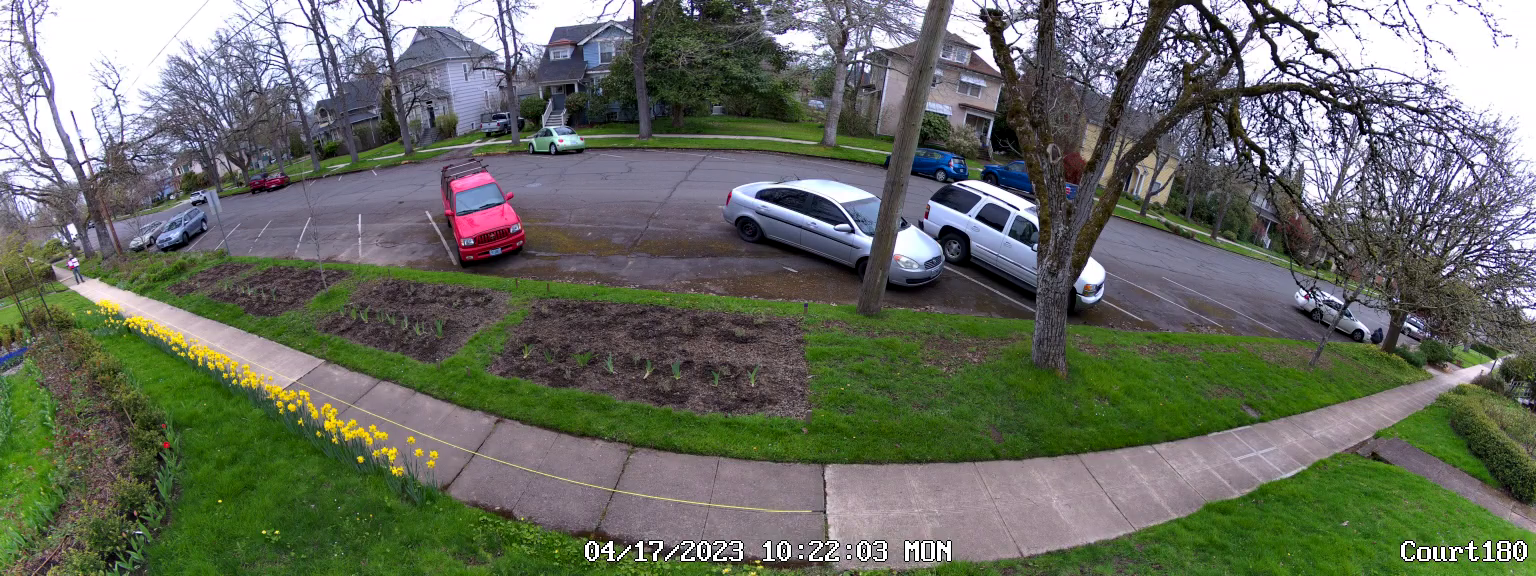 |
 |
 |
 |
John used ffmpeg to extract individual frames at full resolution.
Export an environmental variable, VINPUT, to save having to retrype the video file name:
Example:
export VINPUT=20230417102010-Court180-sub.mp4
Then in a shell enter the time point and name your output to reflect which video and station point you are capturing:
ffmpeg -ss 00:00:40 -i $VINPUT -frames:v 1 264_sub_west_25.png
Here is a Perl script that facilitates processing and entire experimental run.
Last updated at: April 20, 2023